Angular Custom Video player
How I created a custom Vimeo Player component in Angular to solve two big problems my company faced.

I am a full stack software developer from Italy, I'm passionate about everything tech and I'm always learning the next big thing!
This is the brief story about how I created a custom Vimeo video player component for the e-commerce I created for company I work for. The component (we will talk about it in a bit) is written in Angular, as is the rest for the e-commerce, at least the client side.
The Problem(s)
Let's start with talking about the problem(s) so we can talk about the solution:
The company I work for as a Full Stack Software Engineer was looking for a way to allow its users to consume video courses via their website in a fast, intuitive and fun way. The videos are hosted by Vimeo (the famous video sharing company), which has a player that is implemented via an iframe, something like this:
<iframe
  [src]="videoId"
  loading="lazy"
  width="1280" height="720" id="vimeoVideo"
  frameborder="0" scrolling="no">
</iframe>
Where videoId used to be the link to the video hosted in Vimeo, in the following format: https://player.vimeo.com/video/id_of_the_video where id_of_the_video is a number.
It worked but I had 2 problems:
iframes are slow
iframes are slow, imagine a page (maybe a help page) where there are 20 videos loaded through an iframe, it would be not only slow but heavy, the First Contentful Paint (FCP) would be very high, not ideal.
Watermark overlay
I needed to add a watermark over the video, so if the video was ever recorded and shared, my company would know who did it. Overlaying the user's email address via CSS was enough.
Initially the first problem wasn't really a problem mainly because we only had 1 iframe per page, when I had to create a landing page aimed at getting leads to sell the video courses I realized I had to do something about the speed as it is very important in the world of SEO.
The Solution
While researching how to best handle the problems listed above I realized that Google with the Lighthouse (and PageSpeed) tools suggests to use a facade.
A facade is a static element which looks similar to the actual embedded third-party, but is not functional and therefore much less taxing on the page load.
I knew the solution was right there: show a preview of the video itself (an image) that when hovered would render the iframe, pretty fast loading times and a cool preview of the video, great idea!
Video Player
I know which direction I was headed so I looked for a third-party Angular library that did what web.dev was describing and surprise surprise... I could not find one.
Every library that implements this behavior was not really written with Angular (or TypeScript) in mind so the search went on until I found plyr.io a modern video player made for the 21st century that supports HTML5, YouTube, Vimeo and has great features such as DASH and HSL (streaming, we won't talk about that), captions and so on.
Plyr also has the feature I was looking for Preview Thumbnails so I ran to install ngx-plyr, an Angular package with full TypeScript support (we love ours types) to play around.
So problem No.1 was resolved right? Well sort of, I created my own custom component so that I could control the behavior of the player, here's what I've come up with:
TypeScript
Here's logic behind the component:
Receive as Input:
- facadeId: link for an image to show before rendering the player, the facade I was talking about before.
- vimeoLink: Vimeo link for the video in whatever format, I just need the numeric values found after the slash, obtained through a simple regex.
- dimensions: the dimensions for the facade and the player. If not set the defaults are 1920x1080.
- label: I used the generic label as variable name but I usually pass the video name.
There's also an Output which triggers a callback of type boolean, which is used to show/hide the player.
import {Component, EventEmitter, Input, OnInit, Output} from '@angular/core';
import * as Plyr from 'plyr';
import {PlyrEvent} from 'plyr';

@Component({
  selector: 'app-video-player',
  templateUrl: './video-player.component.html',
  styleUrls: ['./video-player.component.scss']
})
export class VideoPlayerComponent implements OnInit {

  @Input() facadeId: string
  @Input() vimeoLink: string
  @Input() dimensions: string[] = []
  @Input() label: string
  @Output() callback: EventEmitter<boolean> = new EventEmitter<boolean>()
  hoverActive: string = ''
  videoId: string = ''
  source: Plyr.Source[] = [{
    src: '',
    provider: 'vimeo'
  }]
  private _defaultDimensions: string[] = ['1920', '1080']

  constructor() {
  }

  ngOnInit(): void {
    // if the dimensions were not provided set them to
    // the default values
    if (this.dimensions.length == 0) {
      this.dimensions = this._defaultDimensions
    }
    // set the video source
    this.source[0].src = this.vimeoLink
    // get the videoId (numeric value)
    this.videoId = this.vimeoLink?.match(/\d+/g)[0]
  }

  /**
   * Renders the video, hiding the thumbnail.
   * @returns void
   */
  renderFacade = () => this.hoverActive = this.facadeId

  /**
   * Trigger a callback when the video ends
   * @param event plyr ended event
   */
  onVideoEnded(event: PlyrEvent) {
    this.callback.emit({
      event: event.detail.plyr.ended,
      label: this.label
    })
  }
}
HTML
Here's the HTML side of the component.
Notice that I use TailwindCSS for this project, easy to write, easy to maintain.
<!-- PREVIEW -->
<div (mouseover)="renderFacade()" class="relative">
  <label [for]="facadeId" class="label-std-center pointer-events-none">
    {{ label }}
  </label>
  <picture *ngIf="hoverActive !== facadeId">
    <source [srcset]="facadeId" type="image/webp">
    <img [height]="dimensions[1]"
         [id]="facadeId" [width]="dimensions[0]"
         alt="Video Top Trading Academy"
         class="border border-gray-700 rounded-lg"
         [src]="facadeId"
         [title]="label">
  </picture>
  <!-- PLAY BUTTON -->
  <div *ngIf="hoverActive !== facadeId" class="inline-flex absolute inset-0 text-redCustom z-20">
    <svg class="m-auto h-6 w-6" fill="currentColor" viewBox="0 0 24 24" xmlns="http://www.w3.org/2000/svg">
      <path d="m4.5 21 15-9-15-9v18Z"></path>
    </svg>
  </div>
</div>
<!-- PLYR -->
<div (plyrEnded)="onVideoEnded($event)" *ngIf="hoverActive === facadeId"
     [plyrPlaysInline]="true"
     [plyrSources]="source"
     class="w-full h-full"
     plyr>
</div>
SCSS
Finally here's the CSS for styling the video player, let's talk about it:
First I set some variables (I'll explain why in a moment):
:root {
  --watermark: url('assets/images/default_watermark.png');
  --plyr-color-main: #D97706;
  --plyr-video-control-color-hover: black;
  --plyr-video-control-color: #D97706;
}
Then I added the watermark over the player
.plyr__video-wrapper::before {
  position: absolute;
  left: 50%;
  top: 50%;
  transform: translate(-50%, -50%);
  z-index: 10;
  content: '';
  height: 75%;
  width: 90%;
  background: var(--watermark);
  background-repeat: space;
  background-size: 300px auto, auto !important;
}
Why would I set variables for the player? Glad you asked:
The colors are there as variables so in different parts of the website I can dynamically change color via a single line of Javascript, like so:
document.documentElement.style.setProperty('--plyr-color-main', `#D97706`);
Watermark
So let's talk about how I handled the watermark situation, remember the second part of the problem?
So I said I had to overlay the user's email address over the player, well I had to find a way to overlay text using CSS so I asked myself (and Google): can I use text as background passing it to a CSS variable? The answer is no.
Text to Image
Fear not! you can convert text to a base64 imags pretty easily with JavaScript, here's how:
import { Injectable } from '@angular/core';

@Injectable({ providedIn: 'root' })
export class TextToImageService {

  constructor(){}

  async toDataURL(message: string) {
    // create canvas
    var canvas = document.createElement('canvas')
    // set width and height
    canvas.width = 400
    canvas.height = 150
    var ctx = canvas.getContext('2d');
    const x = canvas.width / 2;
    const y = canvas.height / 2;
    // set font, alignment and color
    ctx.font = "20px monospace";
    ctx.textAlign = 'center'
    ctx.fillStyle = 'rgba(255, 255, 255, 0.6)'
    // create the text
    ctx.fillText(message, x, y)

    return canvas.toDataURL()
  }
}
I created a service with a function that takes a string (message) and converts the text to an image with the styling of you choosing (this is hardcoded, I had no reason to have it customizable).
Setting the watermark
Alright now we have our player, we have our watermark, how do we set the watermark image?
Pretty simple:
  async setImageWatermark(text: string) {
    var watermark = await this.textToImage.toDataURL(text)
    document.documentElement.style.setProperty('--watermark', `url(${watermark})`);
  }
Notice that textToImage is the service I injected in the constructor in the component in which I plan to include the video component.
the function setImageWatermark takes a string as input, we will pass the user's email address and get an image in base64 format in return which we then use to set the CSS variable --watemark as shown before with the color variable.
That's it!
Conclusion
With everything put together we now have a fast, easy to use video player to handle our Vimeo (and much more with a little customization) videos!
The player looks something like this:
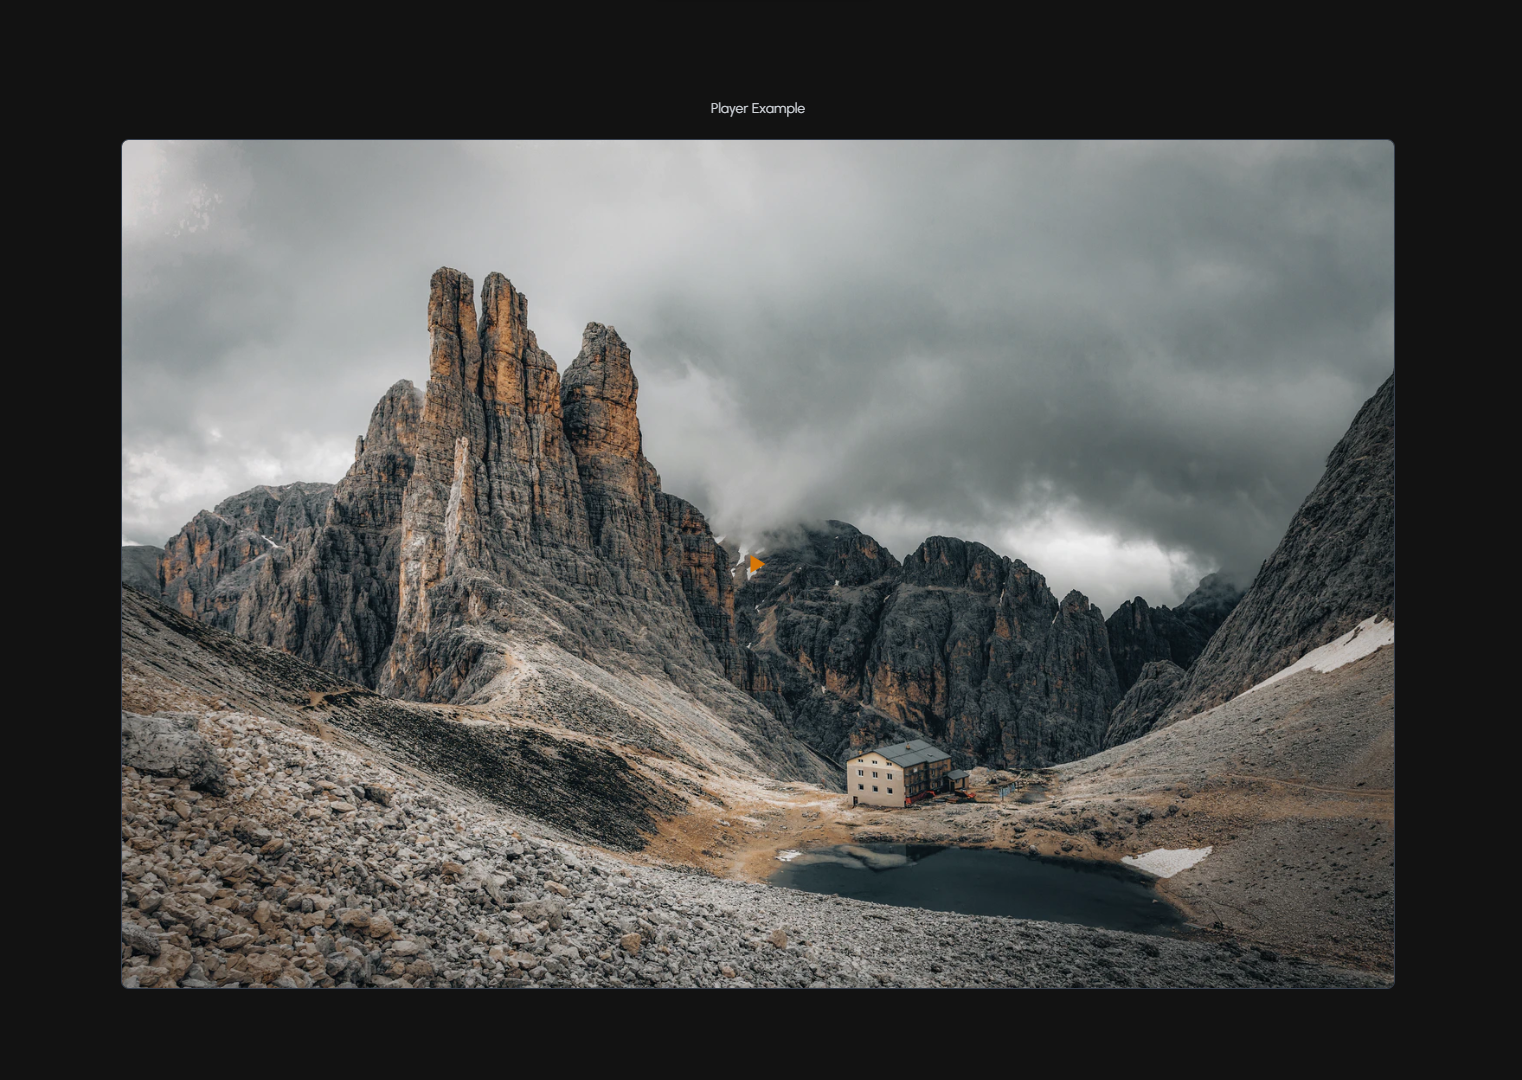
I have a default facade in my CSS that point to an image in the Angular assets folder.
Here's the behavior when hovering the element:
Notice that i used an image from Unsplash for the facade, link to image
This is my first ever blog post, I hope I didn't make too many mistakes and if so, next time I'll learn from them!
Bye 👋